New to using our designs with the Cricut Design Space software? Let's walk through the steps from start to finish!
Shop
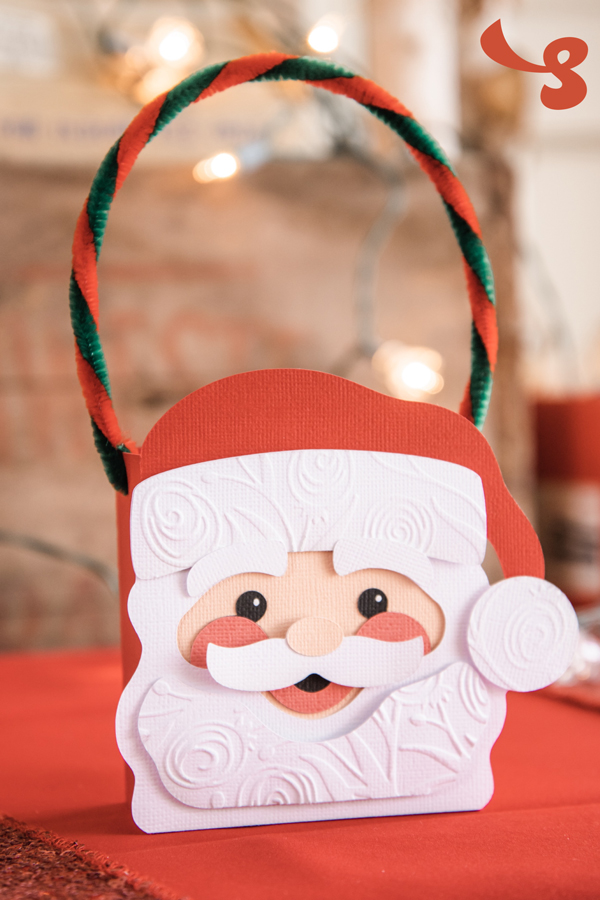
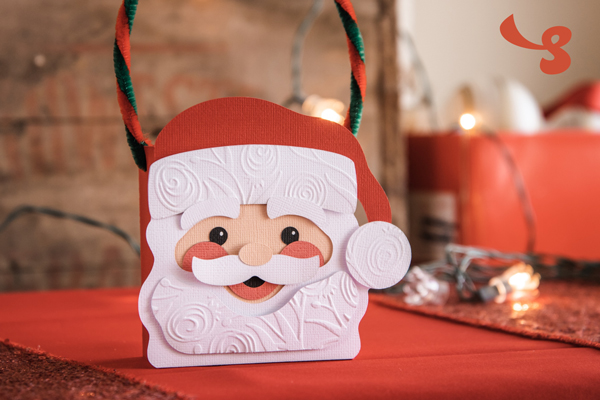
First, select the design you'd like to create. For this example, we'll be using the Santa Bag project.
We offer it individually:
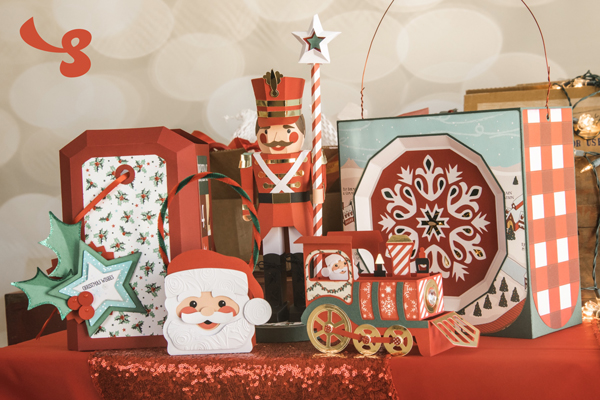
Or as part of the Toy Land SVG Kit:
Download
After you've clicked the "Place Order" button, you'll be taken to a page with a large green "Download" button.
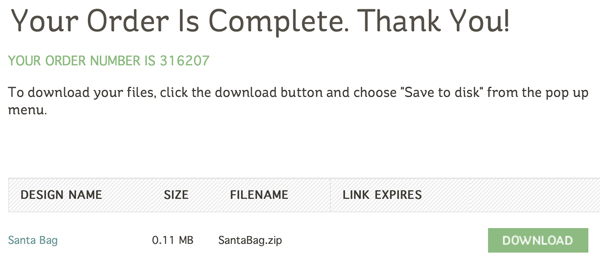
Click the Download button and choose where you'll save your file.
Unzip
Next, you'll need to unzip your download (one time only).
Are you using Windows or "Mac" (iOS) as your operating system?
Windows
To unzip a file in Windows, you can:
- Open My Computer (click Start and then click My Computer).
- Then locate the zip file. In this example, it's called SantaBag.zip or ToyLand.zip.
- Right-click on it and select "Extract All."
- Specify where you want to store the extracted files on your computer.
- To "tidy up," you can right-click on the original zip file and then select Delete.
"Mac" (iOS)
To unzip a file in iOS, you can simply double-click on it. To "tidy up," you can delete the original zip file.
Using an iPhone or iPad? Read: How To Download, Unzip and Save SVG Files Using An iPhone
Project Folder Contents
Your project folder is either called "Santa Bag SVGCuts" or "Toy Land SVGCuts," depending on whether you ordered the Santa Bag individually, or the entire Toy Land SVG Kit. Either way, just like any download from us, you will see three types of content inside your folder:
- a PDF "Menu" document
- at least one JPG photo of the finished project
- the SVG files
Your PDF Menu
This document contains important information about your project. You can view it on your computer, or you can print it out. For this project, your PDF will either be called "Santa Bag Menu" or "Toy Land Menu."
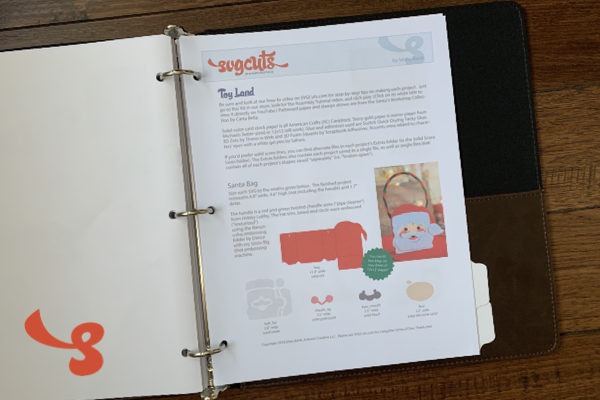
It lets you know several bits of important information.
Assembly Tutorial
First, the PDF gives you a heads-up that there's a step-by-step Assembly Tutorial video for your project. It lets you know that you can locate it on our website, right on the page for your project. You can find it by visiting SVGCuts and entering your project name in the Search box.
This will take you to either the Santa Bag project or to the Toy Land SVG Kit on our site, where the video is embedded.
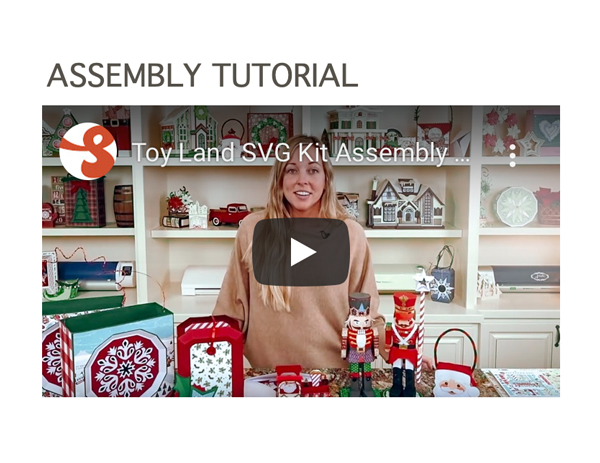
The video shows footage of the finished project, and then I talk about the projects before demonstrating how to make each one step-by-step.
View on YouTube and Skip Ahead
On our site, click on the video's white title to open it directly on YouTube. There, you can view it at a larger size and pause/rewind/skip easily.
You can jump ahead to any project by clicking on "Show More" underneath the video and then clicking on the numbers next to a project name.
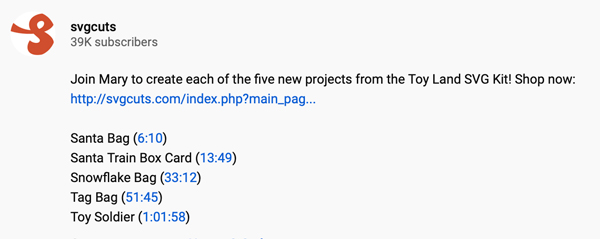
For example, on that page, clicking on the "6:10" next to "Santa Bag" will skip ahead to the part where the Santa Bag project is assembled.
Supplies
The PDF Menu lists what paper was used, and additional supplies. It also gives the dimensions of the finished project. This information can also be found right on the project's page on our site.
"Extras"
The PDF Menu describes the Extras that are included in your download, such as alternative files with solid score lines, and files that contain the entire project saved as a single file.
Shapes
The PDF Menu shows what the SVG files look like. It gives the recommended width for each SVG file as well as the type and color of paper that I used.
SVG Files
You may not be able to directly open SVG files on your computer. This is common. Double-clicking on an SVG file on your computer may not "work."
Cricut Design Space users must follow specific steps to use SVG files.
- Open the Cricut Design Space software and log in if necessary
- Click on "New Project"
- Click on "Upload" and then on "Upload Image"
- Click on "Browse"
- Locate the SVG file you'd like to use and click "Save"
- Click on it under "Recently Uploaded Images" and click on "Insert Images"
You'll now see it on your Canvas. If not, please select it by name in the Layers window and enter a "6" and a "6" in the X and Y fields near the top of your screen.
Attach
If your shape contains more than one layer, such as score lines for folding, you'll need to use the "Attach" function in the software. For this project, that would be:
- bag.svg
To do this, select the entire shape and click the "Attach" button in the lower right-hand side of your screen.
If you skip this step, after you've clicked the "Make It" button, your score lines will be on a different mat than your shape.
Then click the "Make It" button, adjust your settings to your preferences, and use your machine to create the project pieces.
The Extras Folder
Solid Score Lines
Using a Cricut Scoring Stylus tool or the Cricut Scoring Wheel? Use the files in the "Solid Score Lines" folder. For this project, that would be:
- bag.svg
With this on your Canvas, select only its top layer and change the Linetype drop-down menu selection from "Cut" to "Score." This can be done either before or after you've used the "Attach" button. The score lines will then be displayed as "dashed," which indicates that their Linetype is set to "Score."
"Entire" Files
Instead of uploading and inserting all five project files, you can upload/insert the entire project at once. There are two choices:
- The file called "entire_santa_bag.svg" in the Extras folder contains all of the project's shapes.
- The file called "entire_santa_bag_separated.svg" in the Extras folder contains all of the project's shapes "separated." For example, if you only want or need one small part of an SVG file, such as only one of the two eyes, you can individually select, manipulate and/or delete each part.
These choices also exist in the "Solid Score Lines" folder.
Once you've uploaded/inserted one of these, you'll need to click the "Ungroup" button just once.
Then proceed to change the Linetype if necessary and Attach if necessary before clicking "Make It."
Reduced Size Issue
Recently, some of these "entire" files have been appearing at a reduced size in the Cricut Design Space software. To remedy this, after uploading/inserting follow these steps:
- Click Ungroup, then Select All.
- Click Align then Center.
- With the lock icon “locked,” enter the recommended width of the widest project shape, which is usually 11.4”. This information can be found in your PDF Menu.
- Proceed as usual, changing any Linetype choices as necessary and/or using the Attach button as necessary. You can move the shapes around on your mat to see them better if you’d like.
Prep and Assemble
Now that your shapes are all cut out, you can watch your project's Assembly Tutorial video to see exactly how I recommend assembling your project.
Share
Once you've amazed your friends and family with your new creation, please share a photo of your project with us on Facebook or Instagram! 😀 If you have a blog, you could create a blog post about it and then pin that on Pinterest or share that with us on Facebook. If you have a YouTube channel and post a video about your project there, be sure and let me know, too! I'd love to see and subscribe to your channel!
If you're new to paper crafts and have tackled your first project, I applaud you! I hope you found it to be fun and are inspired to make more projects!
Many Thanks

Mistletoe Manor, Mary and Heirloom Tree
Thanks so much for shopping with us and for giving my Santa Bag project a try!
I hope this blog post was helpful.
Have an awesome day, and Happy Crafting! 🙂
~Mary