

Wondering how to make an SVGCuts project using your Cricut Explore or Cricut Maker machine? It's easy! Let's take it from the top and go step-by-step.
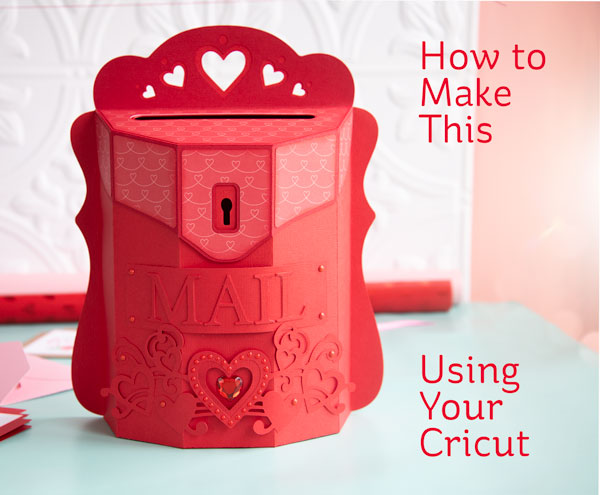
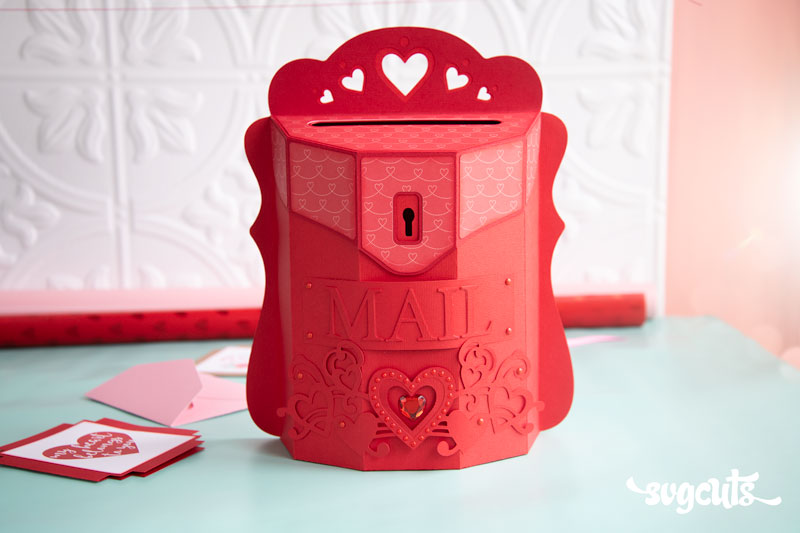
Today we're going to make the new Mail Box project from start to finish.
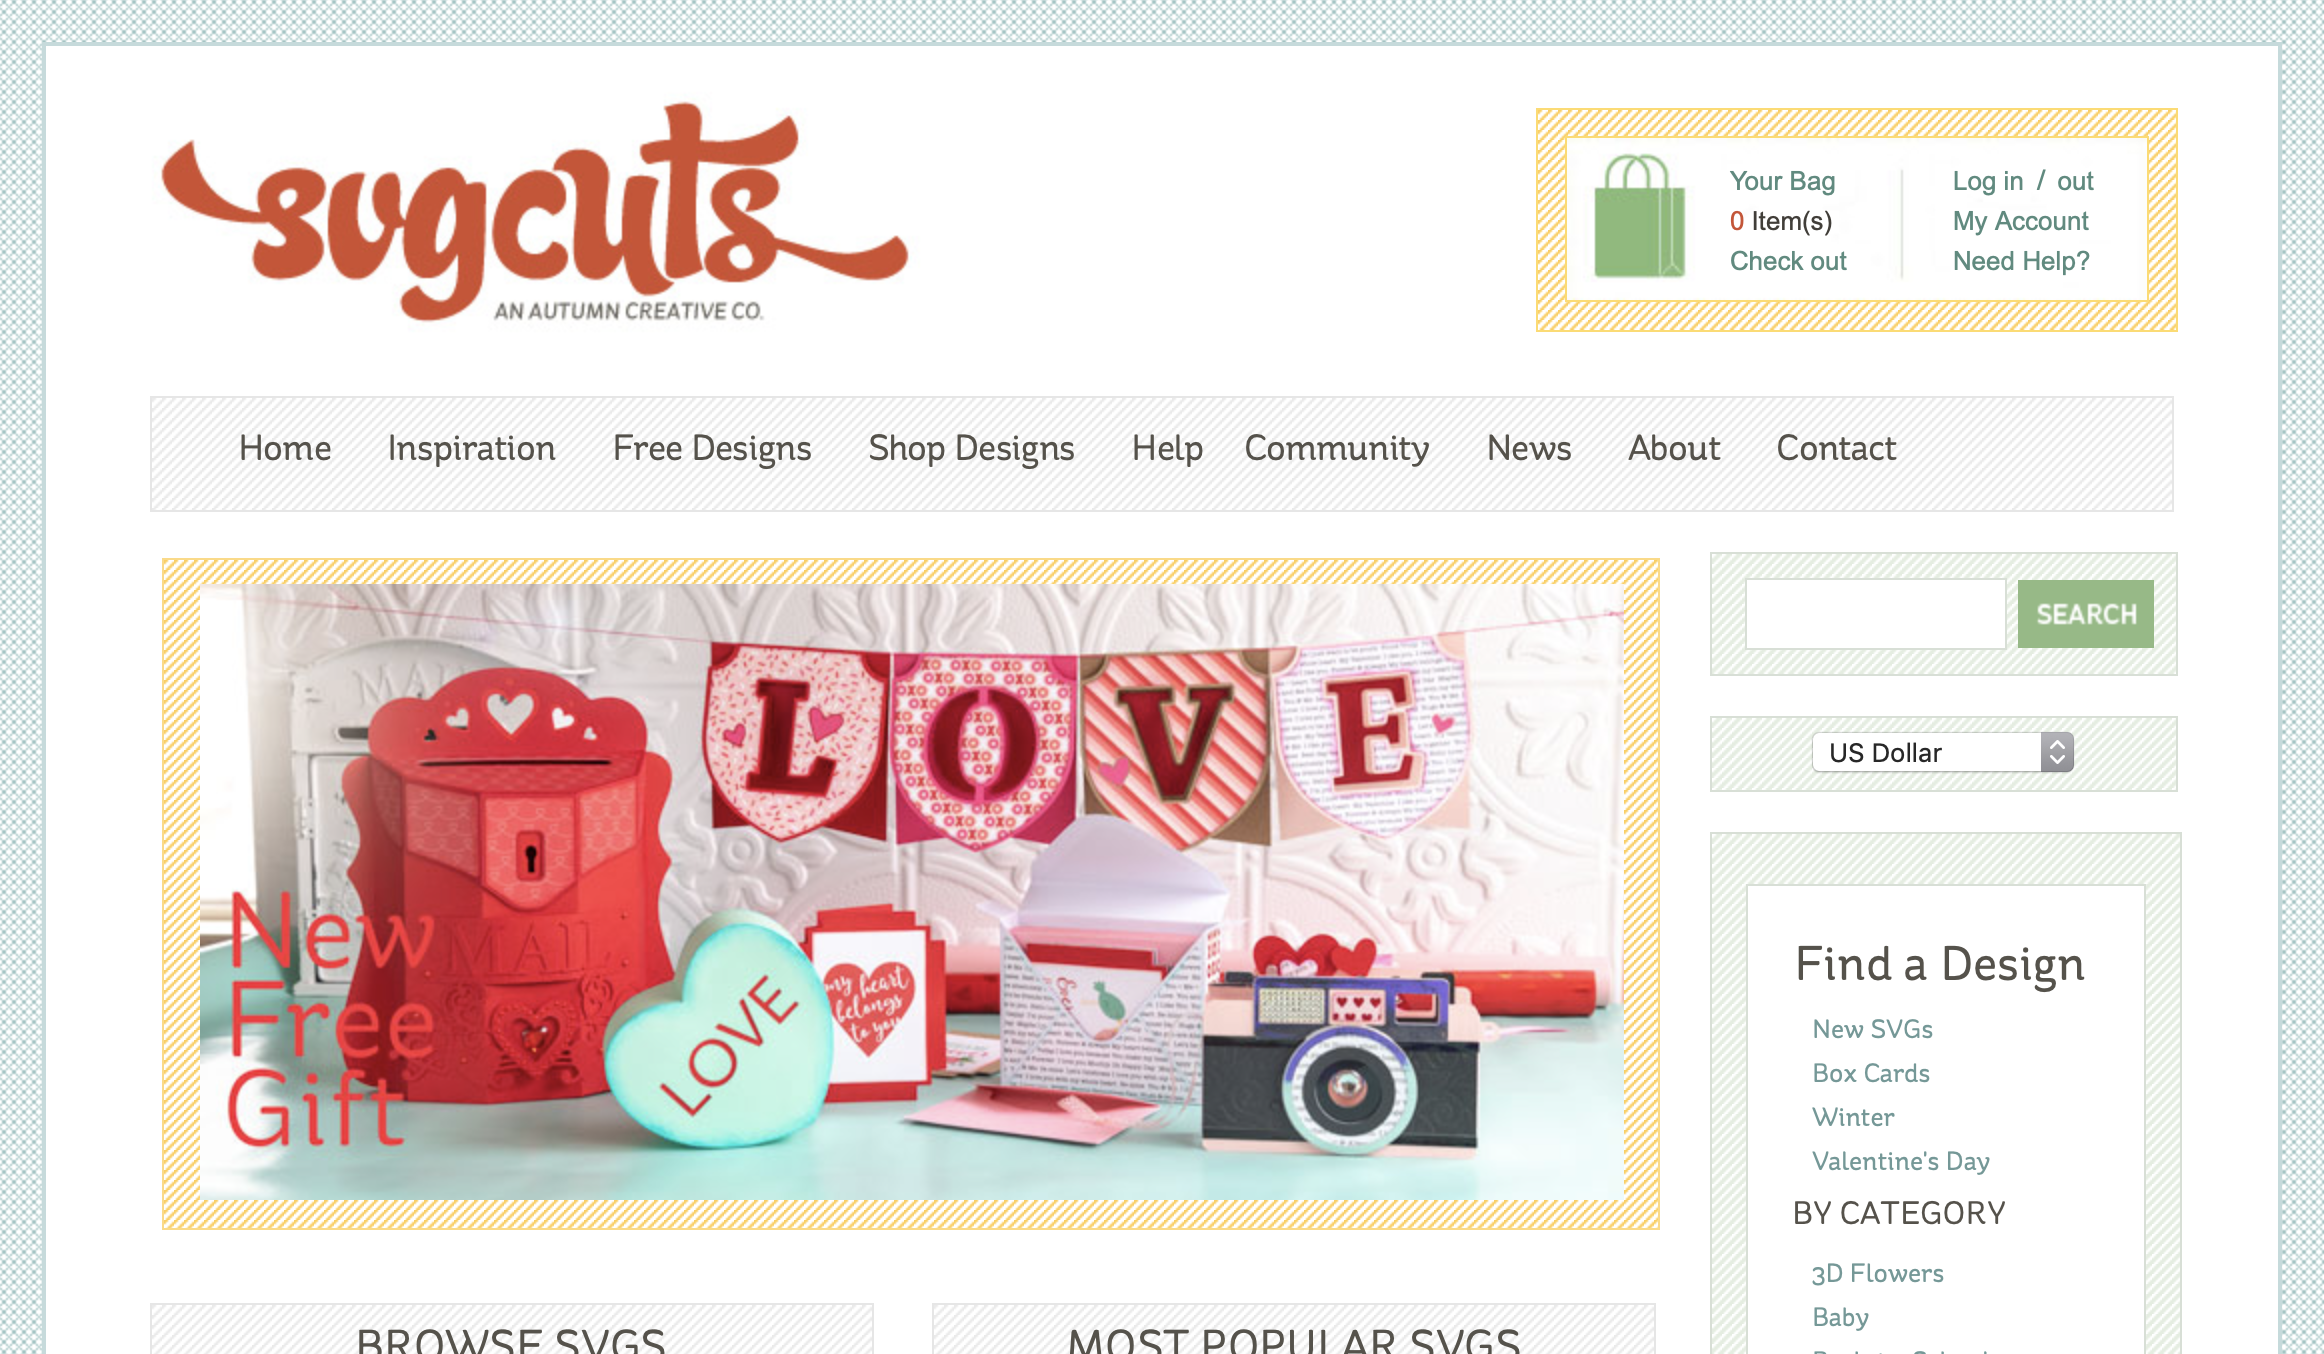
Create an Account
First, I'd suggest creating an account with us at SVGCuts.com. We do not share your information with anyone and only use it to keep track of your orders and to provide assistance.
To create an account, visit us at www.svgcuts.com and click on Log In in the top right-hand corner.
Security
Your computer's browser may alert you that our site is not secure. Which is great! Of course, you can never be too careful! However, you can rest assured that the pages on our site where personal information is entered are completely secure. Such as any personal account pages, log-in or checkout pages, etc. Our SSL certificate is always kept up-to-date and active.
We use PayPal for payment processing, which is a trusted, secure way to pay for things online, including at SVGCuts.com.
E-Mail Newsletter
Creating a new account does not subscribe you to our E-Mail Newsletter. If you'd like to sign up for our Newsletter, please feel free to fill out our Newsletter Sign-Up form!
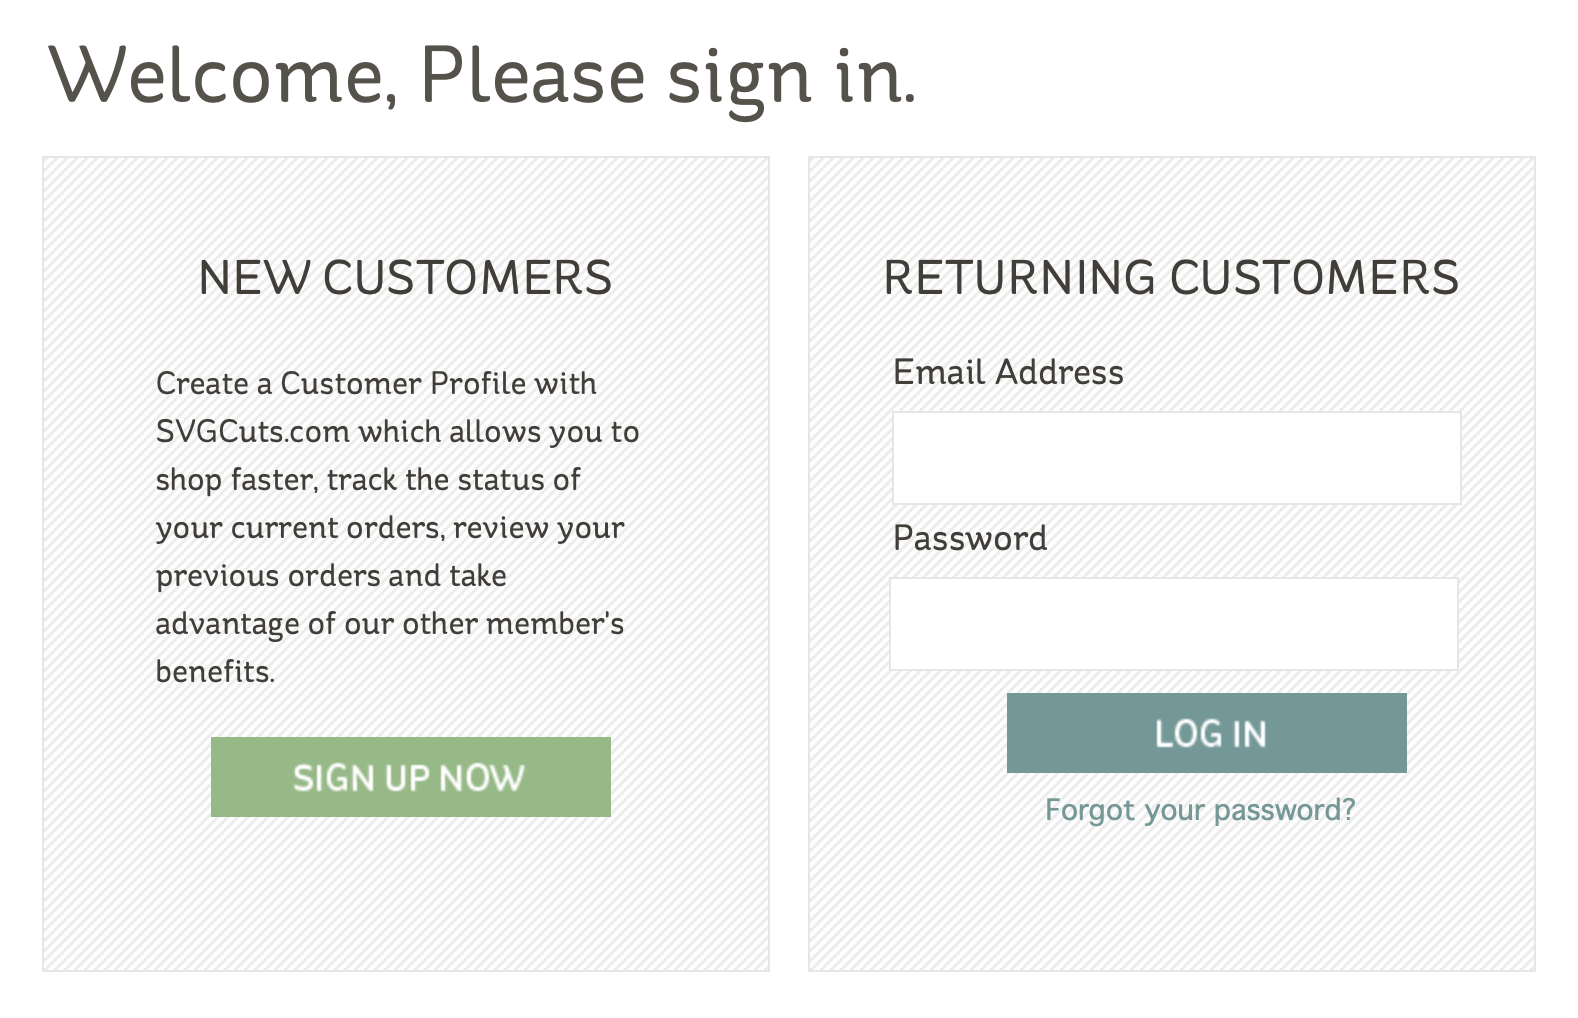
Sign In
Next, you can sign into your existing account.
Three Ways to Order
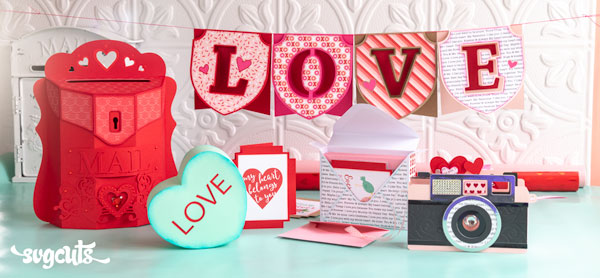
First, you'll need to be the proud owner of the Mail Box project. There are currently three ways to get your hands on it.
One: Part of a Kit
We offer the Mail Box project as part of the Love Letters SVG Kit, which includes four other projects.
Two: Individually
We also offer the Mail Box individually.
Three: Free Gift Promotion
For a limited time, you can get the Love Letters SVG Kit free with qualifying purchase through January 31st, 2019 using the coupon code FREEGIFT during Checkout.

Download and Un-Zip
If you've purchased the Mail Box project, now you can download it!
You can do this immediately after Checkout or at a later time.
To download your project/s immediately after Checkout (recommended), simply click on the big green "Download" button/s to download your items to your computer.
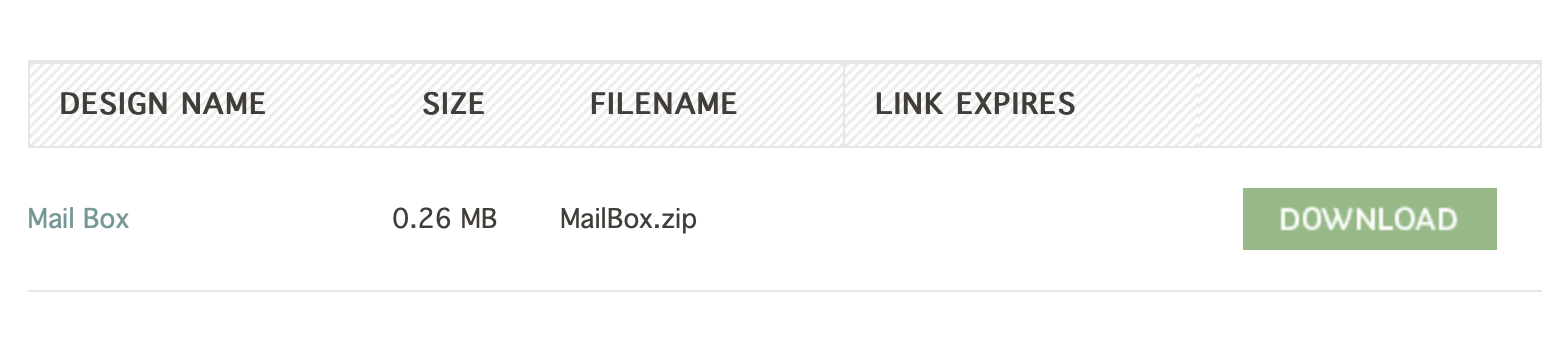
To download your project/s at a later time, simply log in at www.svgcuts.com and go to My Account, where you'll see your most recent order/s. To see more than the most recent three, click on "Show All Orders." Click on any "View Order" button to see its details and its big green "Download" button/s. If any item has "expired," simply Contact Us to have it re-activated for download.
Un-Zip
Your download arrives in a compressed ("zipped") format. This is pretty common. It saves space on our server and makes downloading quicker for you.
You'll need to un-zip your download/s just once. To un-zip a file in Windows, you can:
- Open My Computer (click Start and then click My Computer) and locate the compressed (“zipped”) folder
- Use your mouse to right-click on it and then click on"Extract All"
- Specify where you want to store the extracted files
- The original zipped folder is no longer necessary, so to tidy up your computer, you can delete it by right-clicking on it again and clicking on "Delete"
To un-zip a file on a Mac computer, you can simply double-click on it.
PDF Menu
In addition to all of the SVG files for your project/s and photos of each project, your download also includes a helpful PDF document.
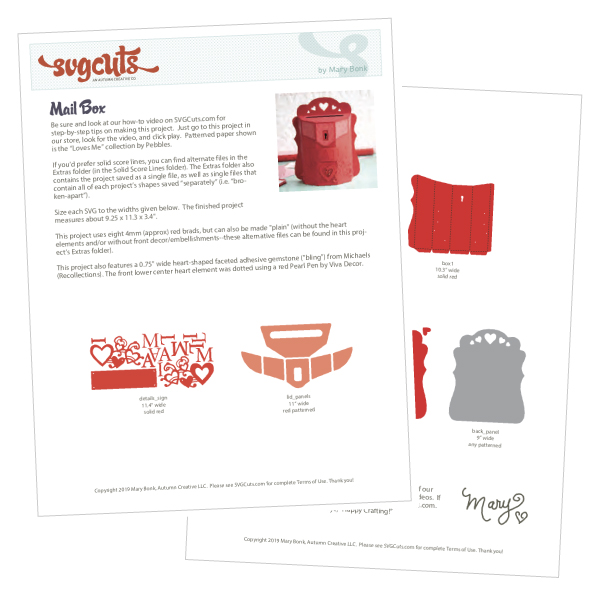
You can print it out if you'd like, or you can view it on your computer. It shows all of the shapes for the project and gives additional information about supplies used and other options.
Upload/Insert Into the Cricut Design Space Software
Now, let's get the SVG files for your project into your Cricut Design Space software.
First, launch the Cricut Design Space software and log in if necessary.
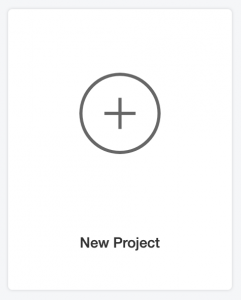
Then, click on the big plus sign ("New Project") button.
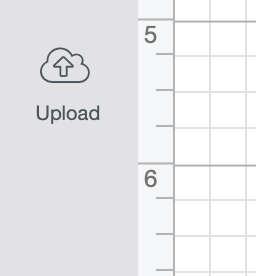
Then click on the Upload button on the bottom left-hand side of your screen.
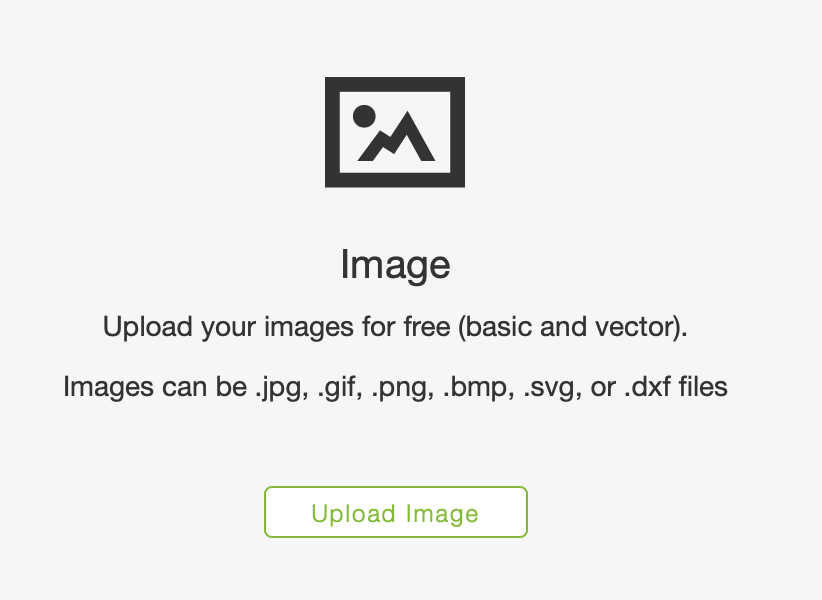
Next, click on the "Upload Image" button.
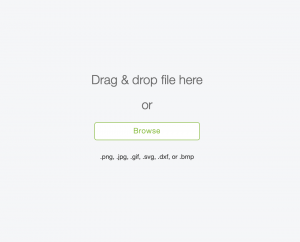
Next, click the "Browse" button.
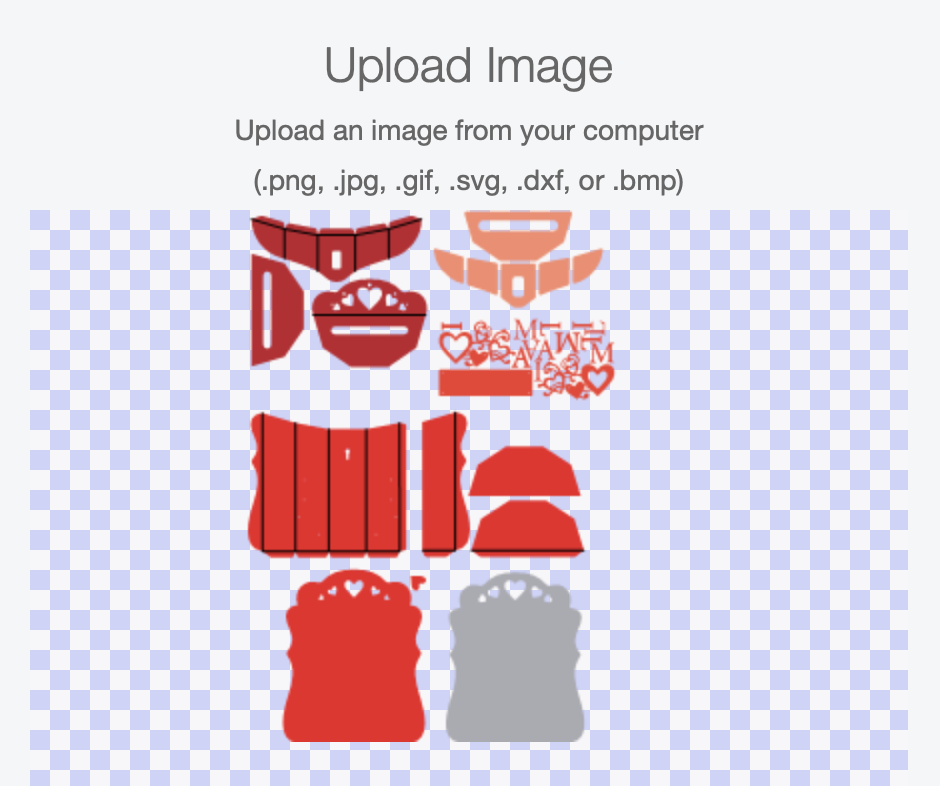
Navigate to your folder called "Mail Box SVGCuts" (or "Love Letters SVGCuts") and double-click on it. Double-click on the "SVG Files" folder and then again on "Mail Box" if necessary.
As a Cricut Design Space user, I'd suggest double-clicking next on the "Extras" folder and then on the "Solid Score Lines" folder.
Select the file called "entire_mail_box.svg" and click "Choose."
(If for some reason, you're not using the Cricut Scoring Stylus tool in your machine, you can select the entire_mail_box.svg file in the Extras folder instead and skip the steps below about changing the style from cut to score.)
Next you'll see the file displayed like this:
Click "Save."
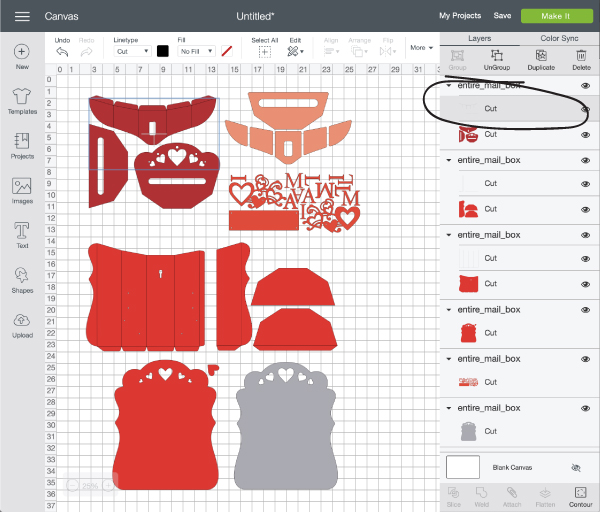
Now you'll see it in your Recently Uploaded Images:
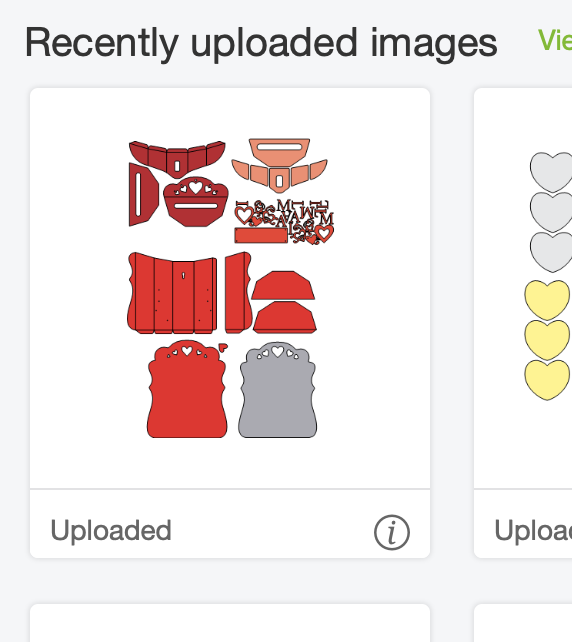
Select it and click "Insert Images."
Now you'll see all of the shapes on your mat on-screen.
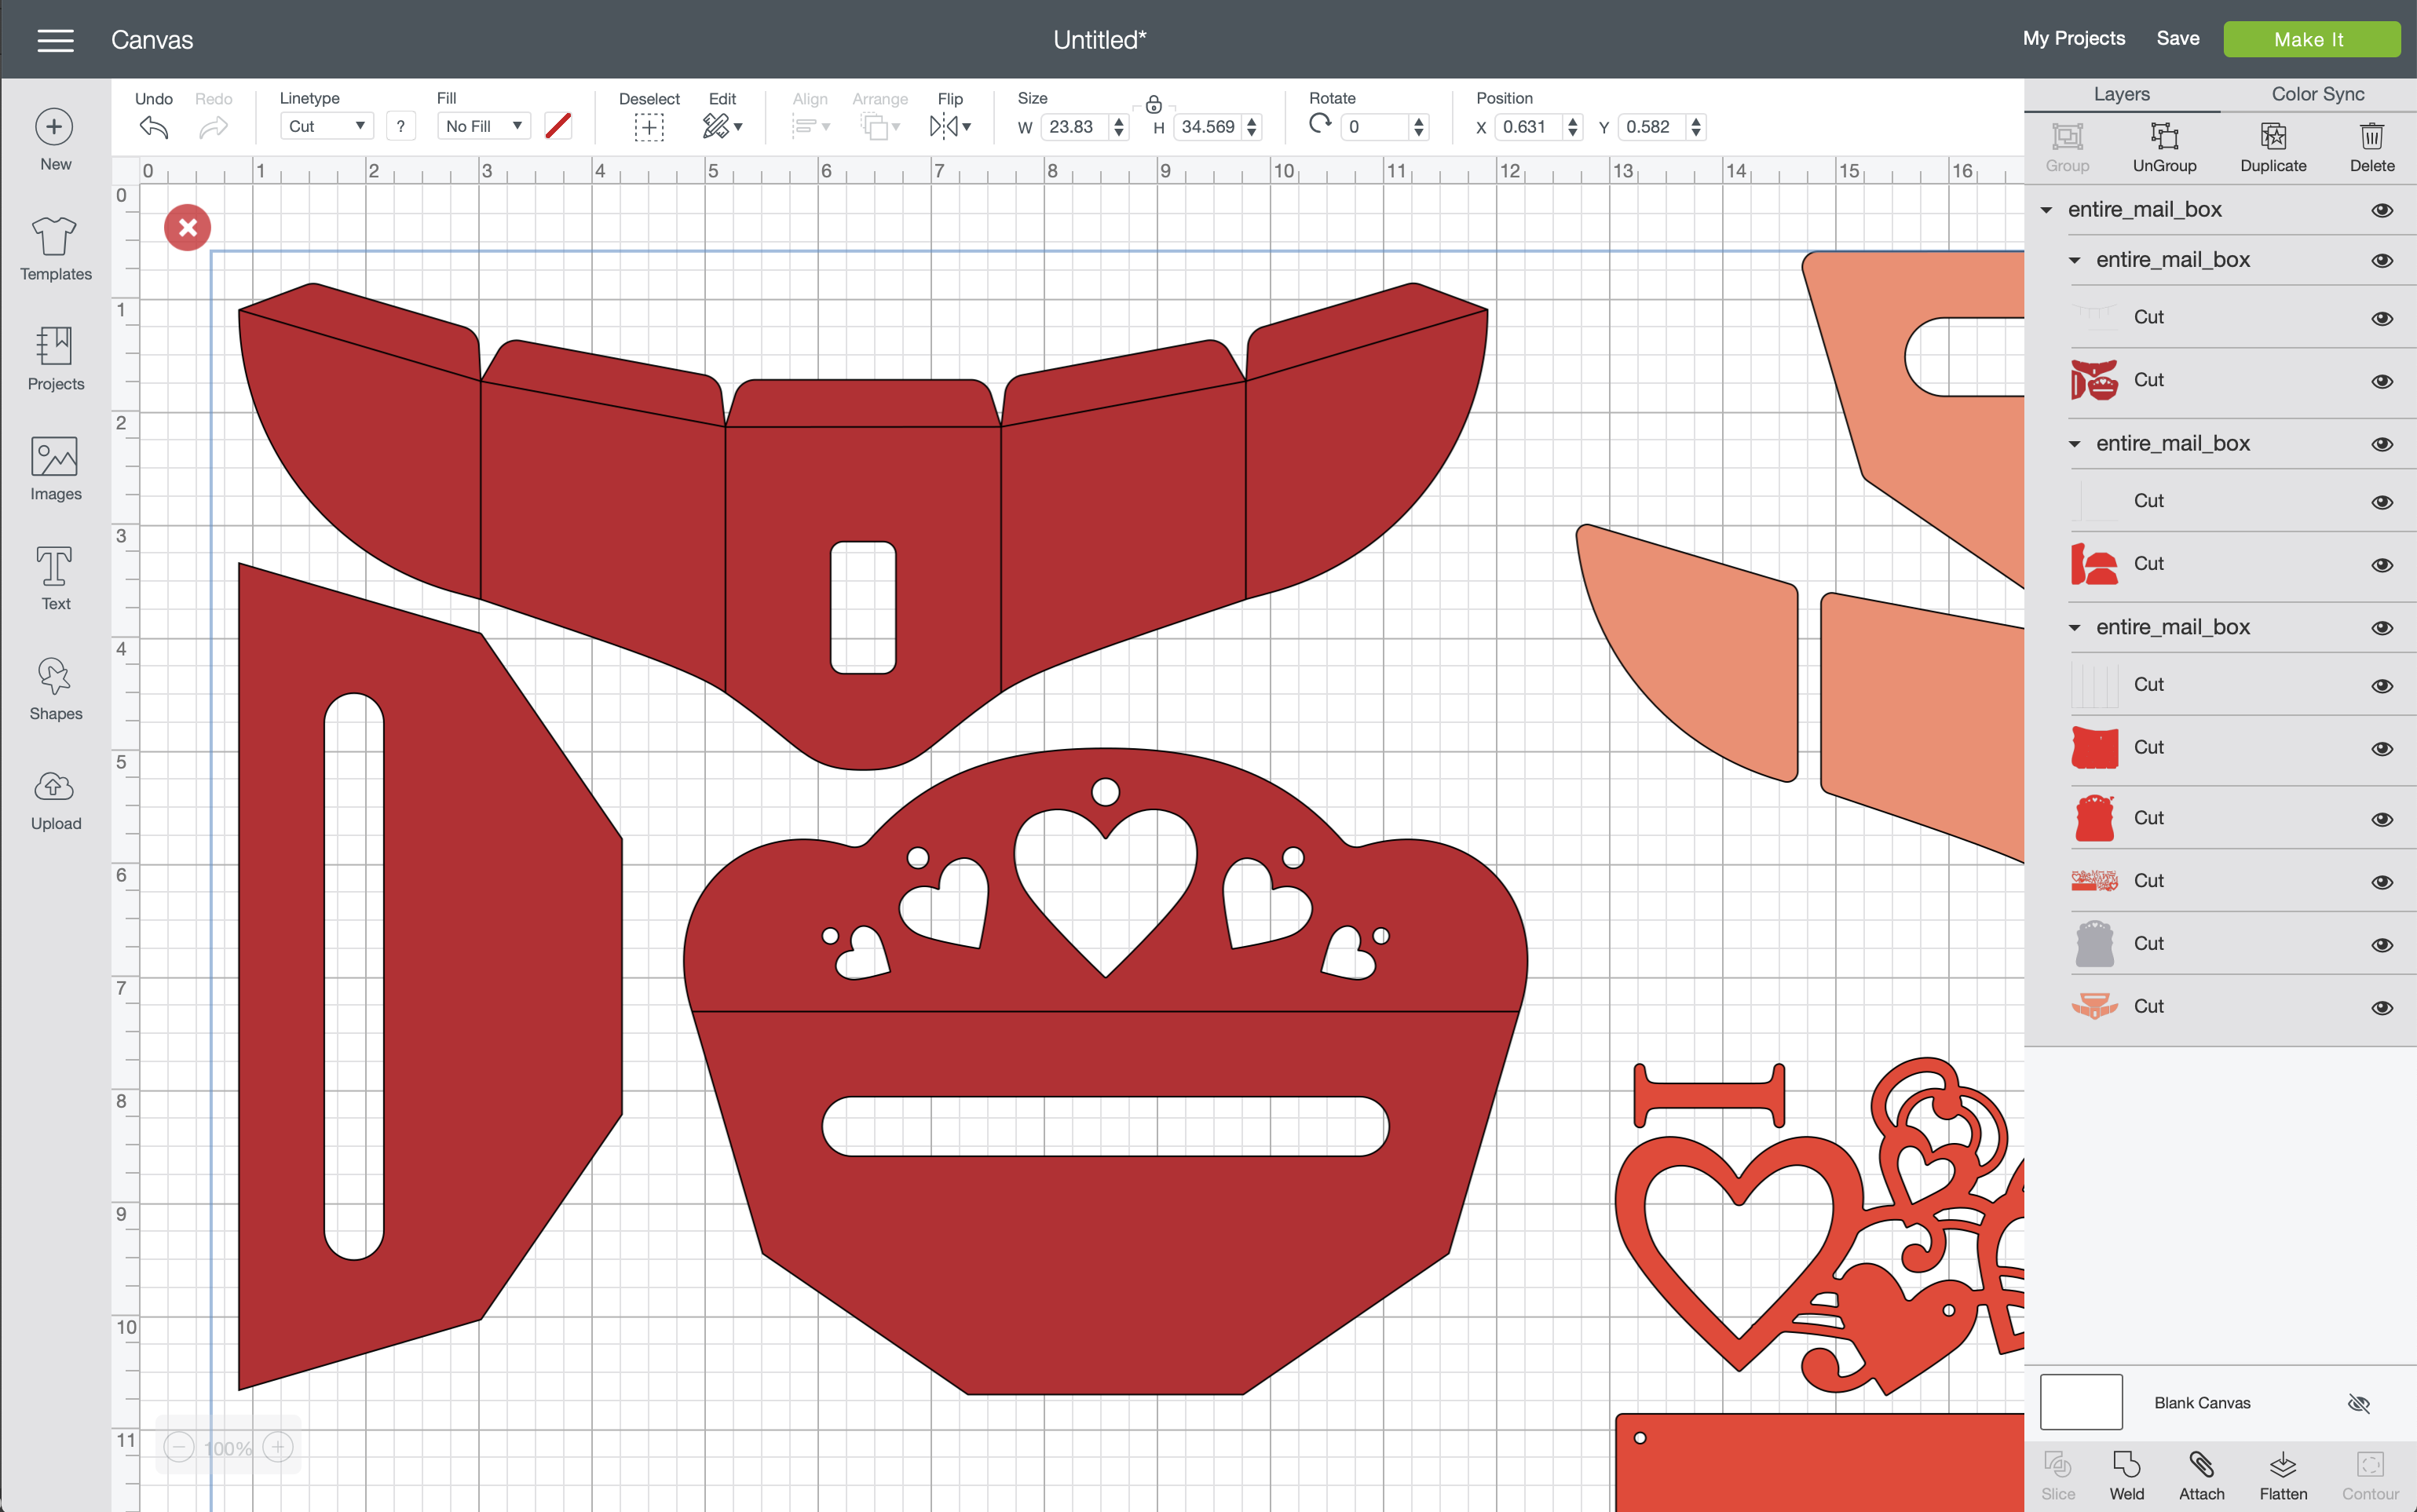
[If you’re not seeing an inserted shape on your mat, select it in the Layers panel and enter “6” and “6” into the X and Y fields near the top of your window to bring it into view.]
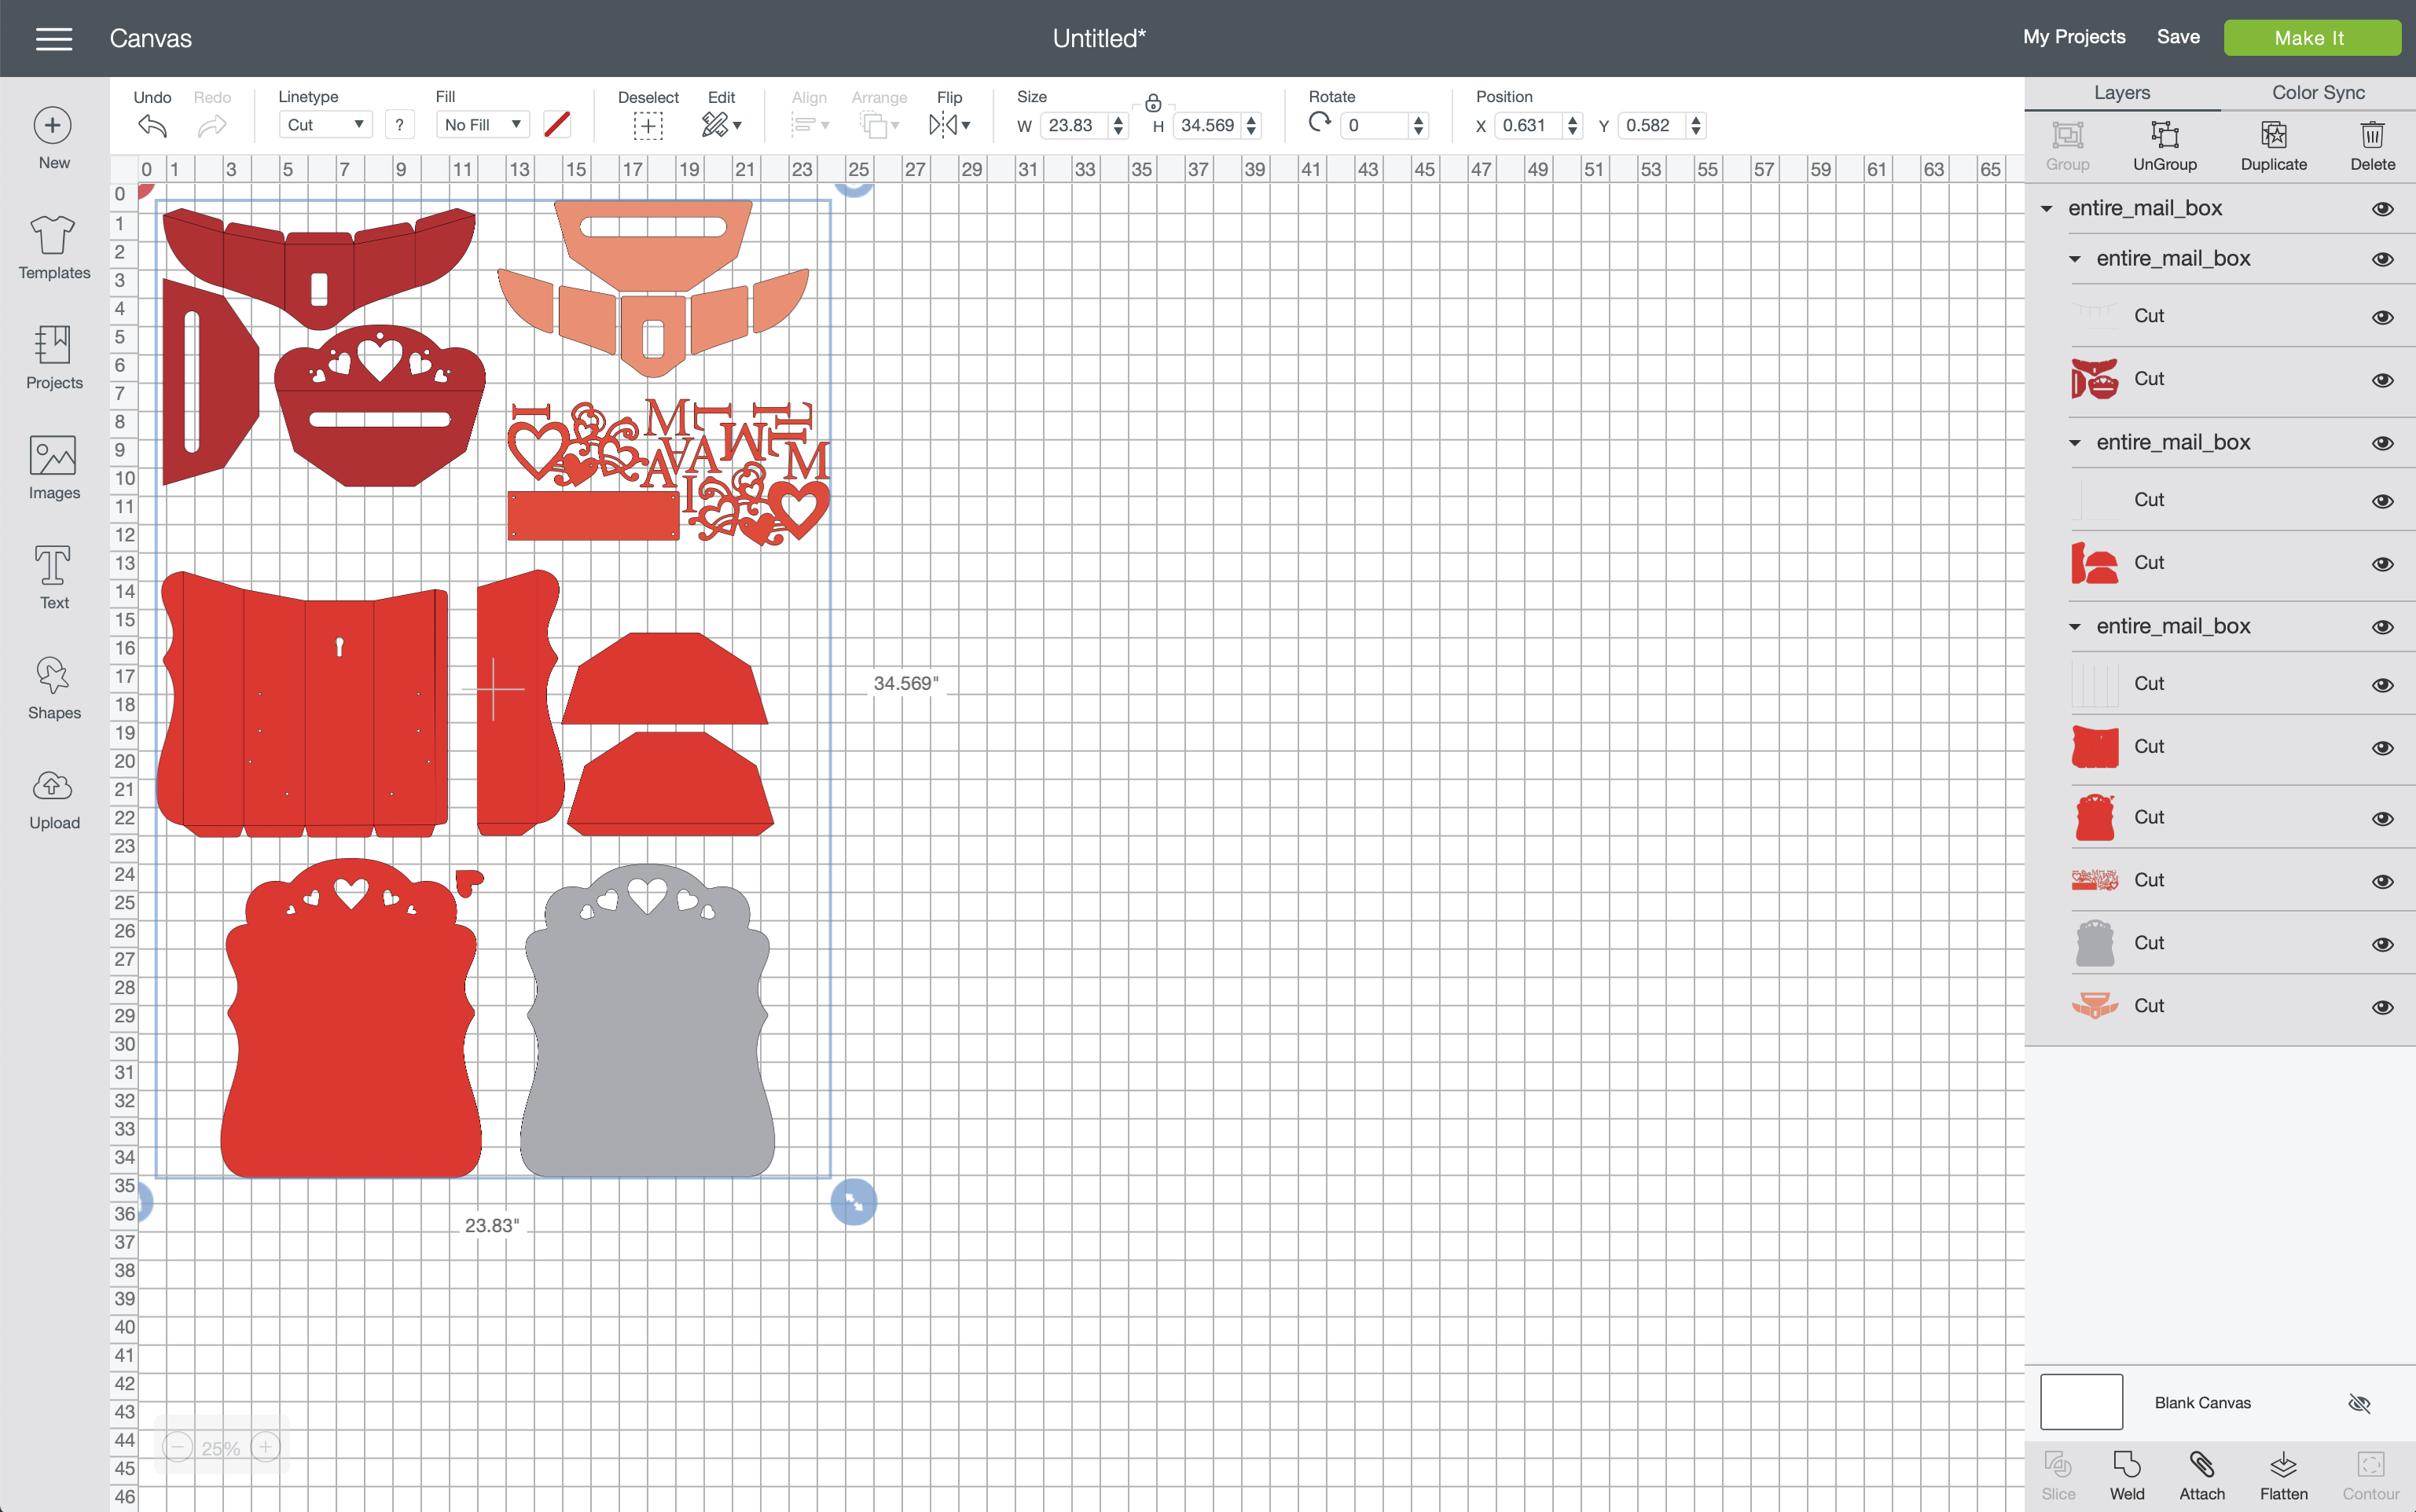
If you'd like to get a better view, you can use the zoom buttons in the lower left-hand side of your screen to zoom out.
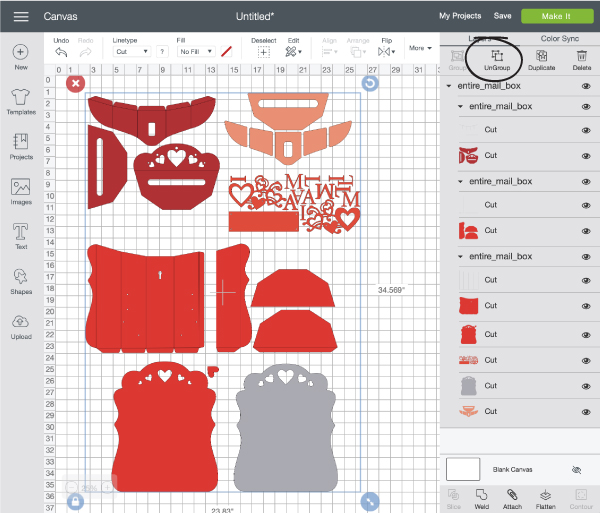
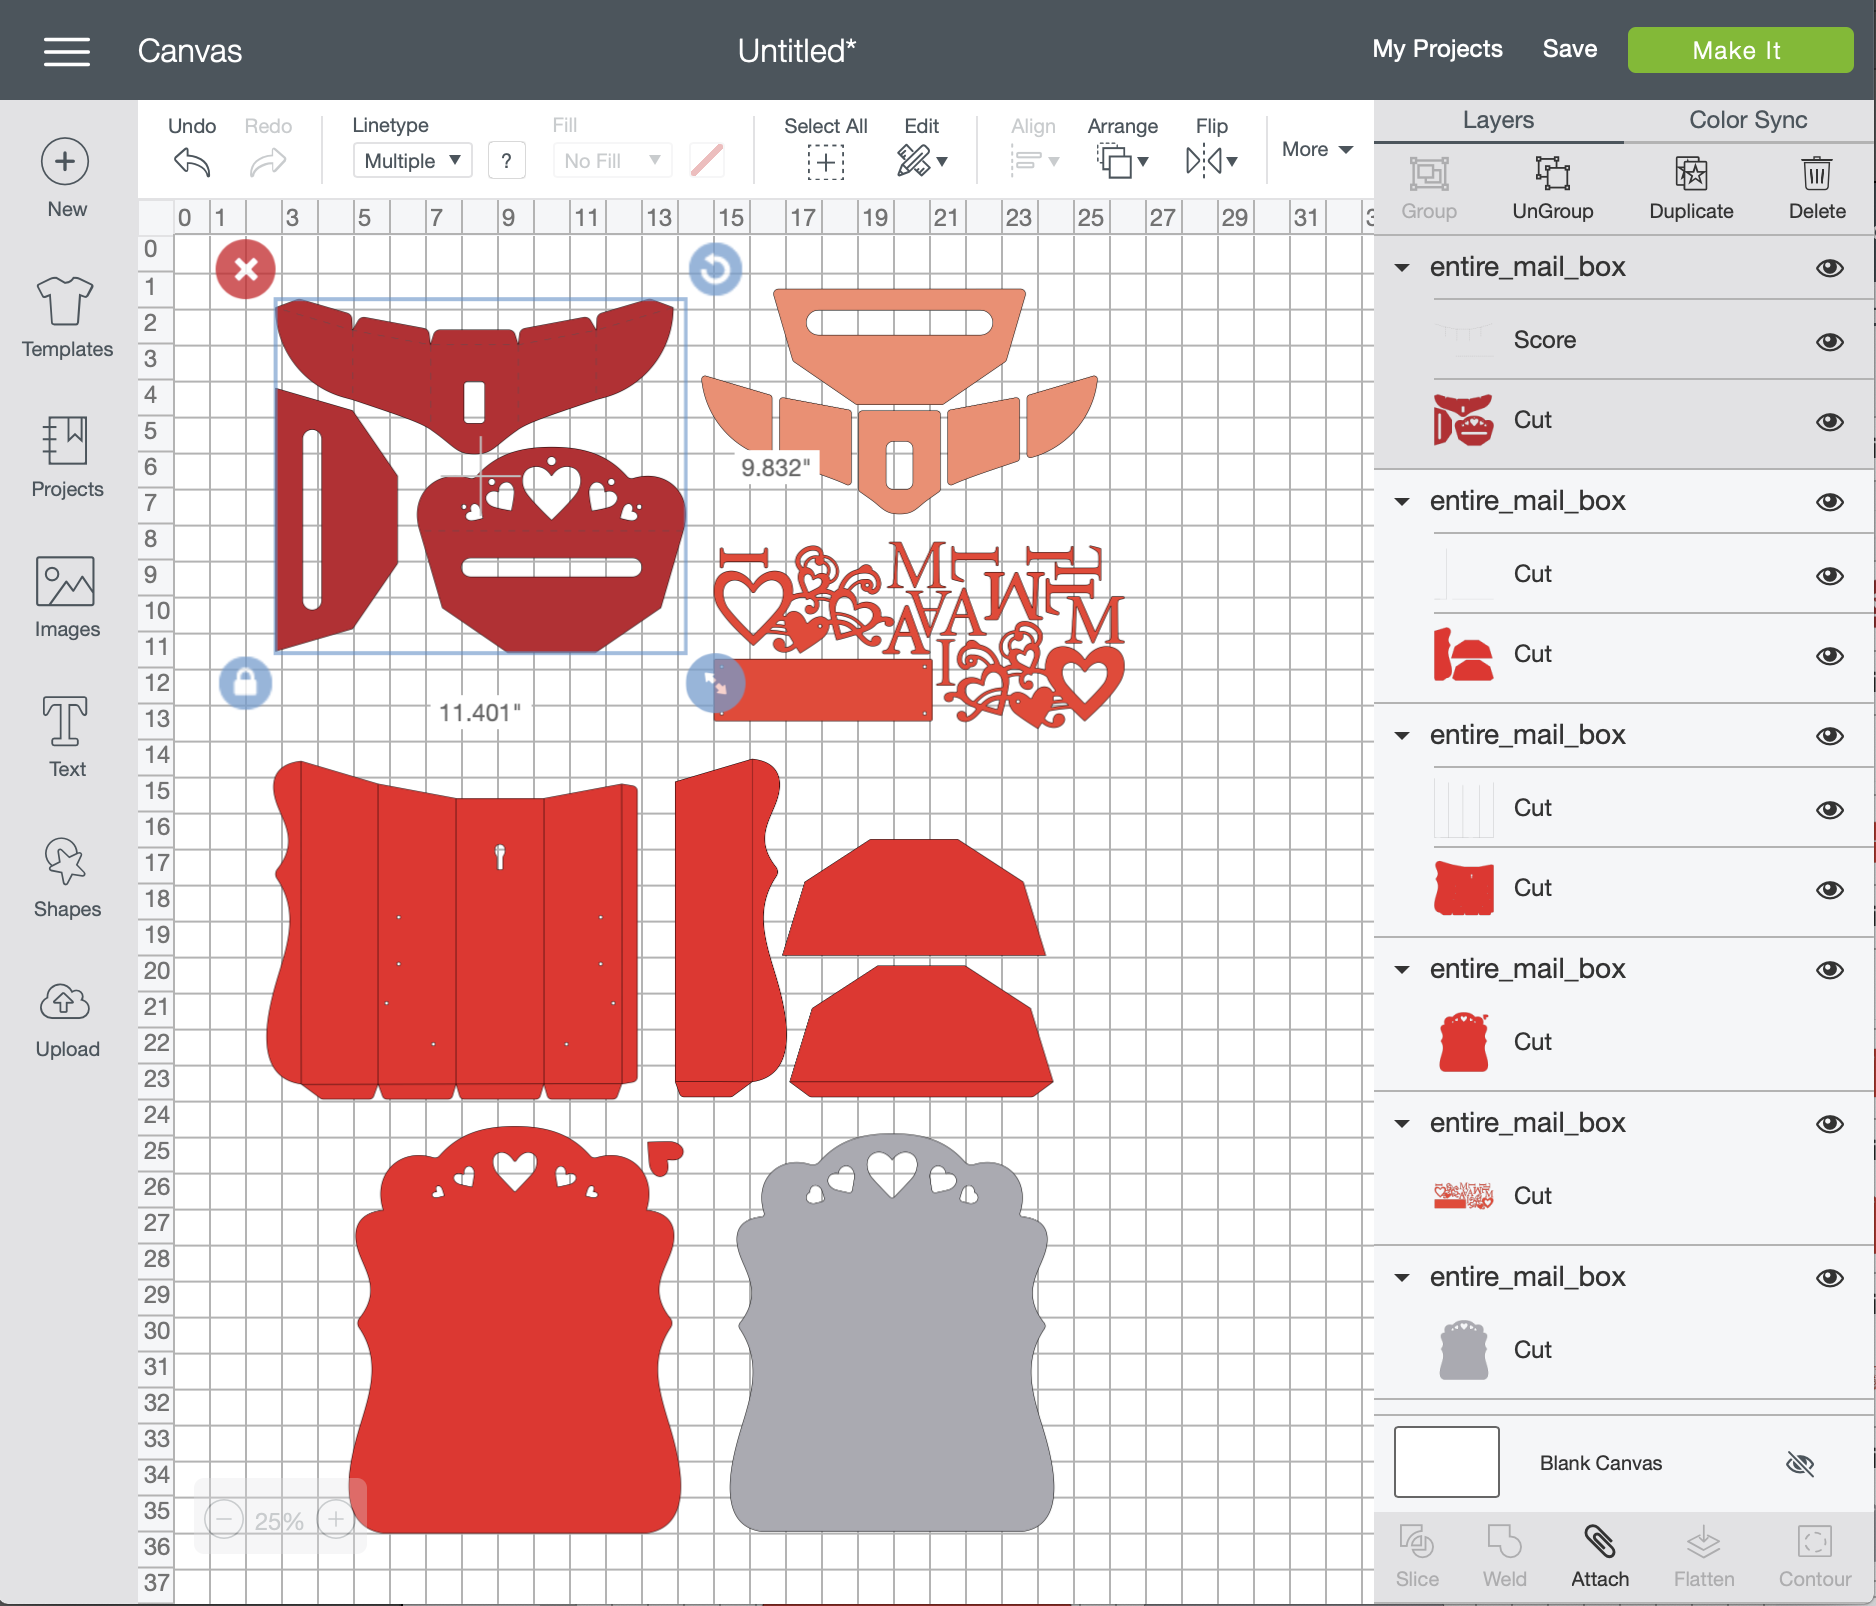
Next, click the "UnGroup" button (top right-hand corner area).
Score Lines
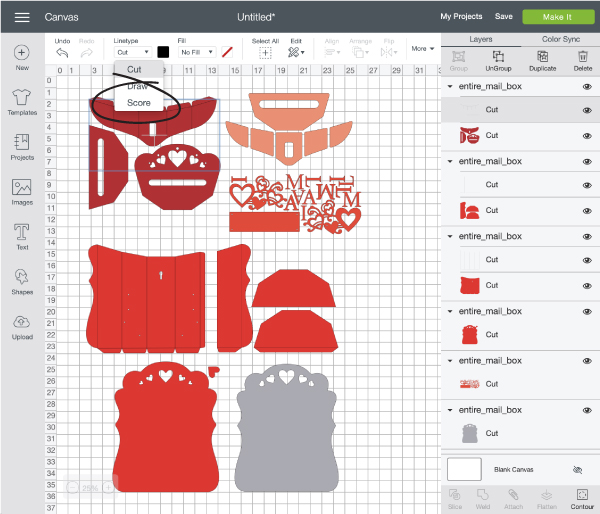
Next we will change the score lines from "cut" to "score" so that your machine knows to score them instead of cutting them.
To do that, select the first shape's score lines:
...and in the Linetype drop-down menu, choose "Score."
Attach
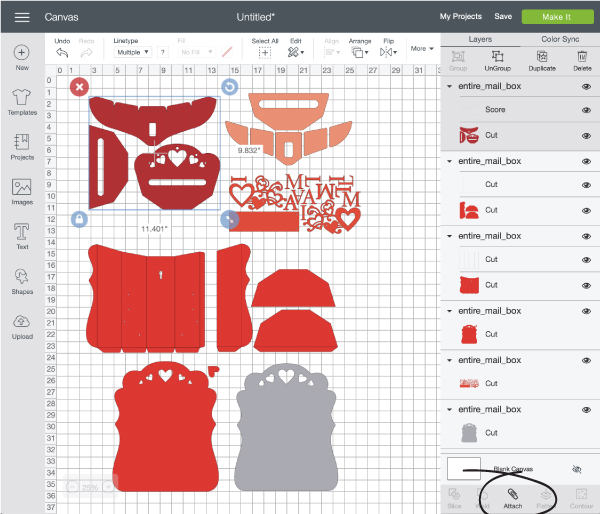
Next, you'll need to let your machine know that the score lines are part of that shape. To do that, select the whole item (both the score lines and the shape to be cut):
...and click the "Attach" button in the bottom right-hand corner area of your screen.
Repeat these score/attach steps as necessary for any other shapes on your screen that have score lines associated with them and then click the "Make It" button.

Make It
Proceed through the next steps within your software as-usual to cut and score the shapes using your machine.
You may want to choose a higher pressure setting for the scoring to be firm/deep enough. This is based on personal preference and other factors. I personally use a Cricut Maker machine and select the "Kraft Card Stock" material setting and choose "More" pressure.
Assembly
Now that you've got all of the shapes for your project cut out, it's time to assemble it!
You can watch each step from start to finish in the project's Assembly Tutorial video, which is embedded directly on its page on at SVGCuts.com.
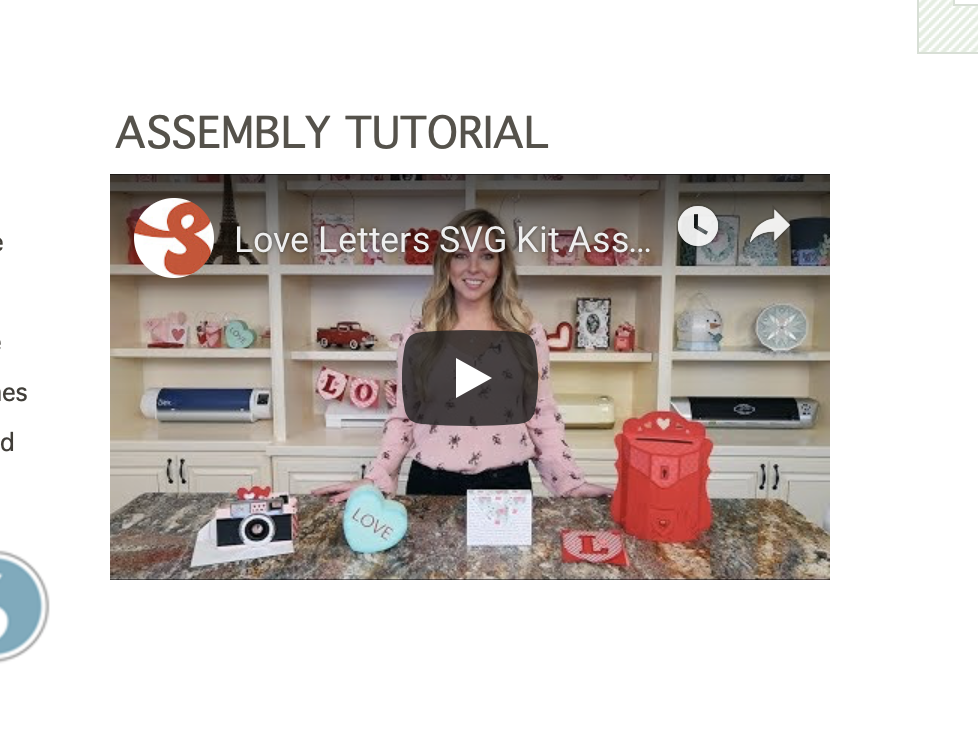
From there, you can click on the video's white title to open it directly on YouTube, where you can view it at a larger size.
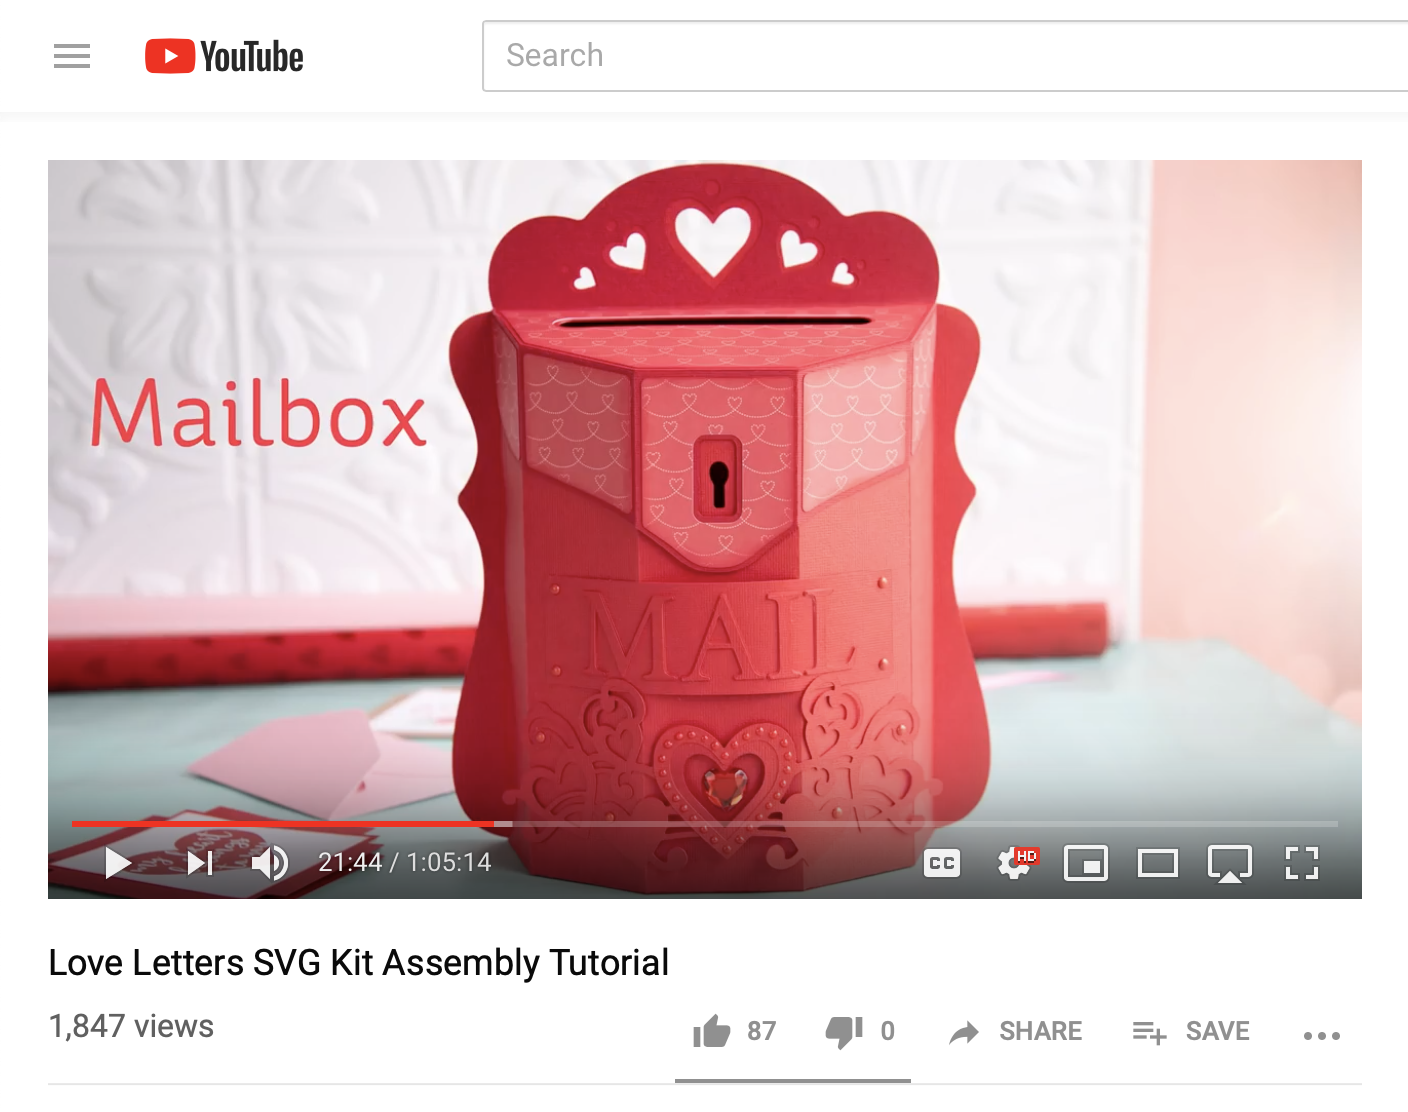
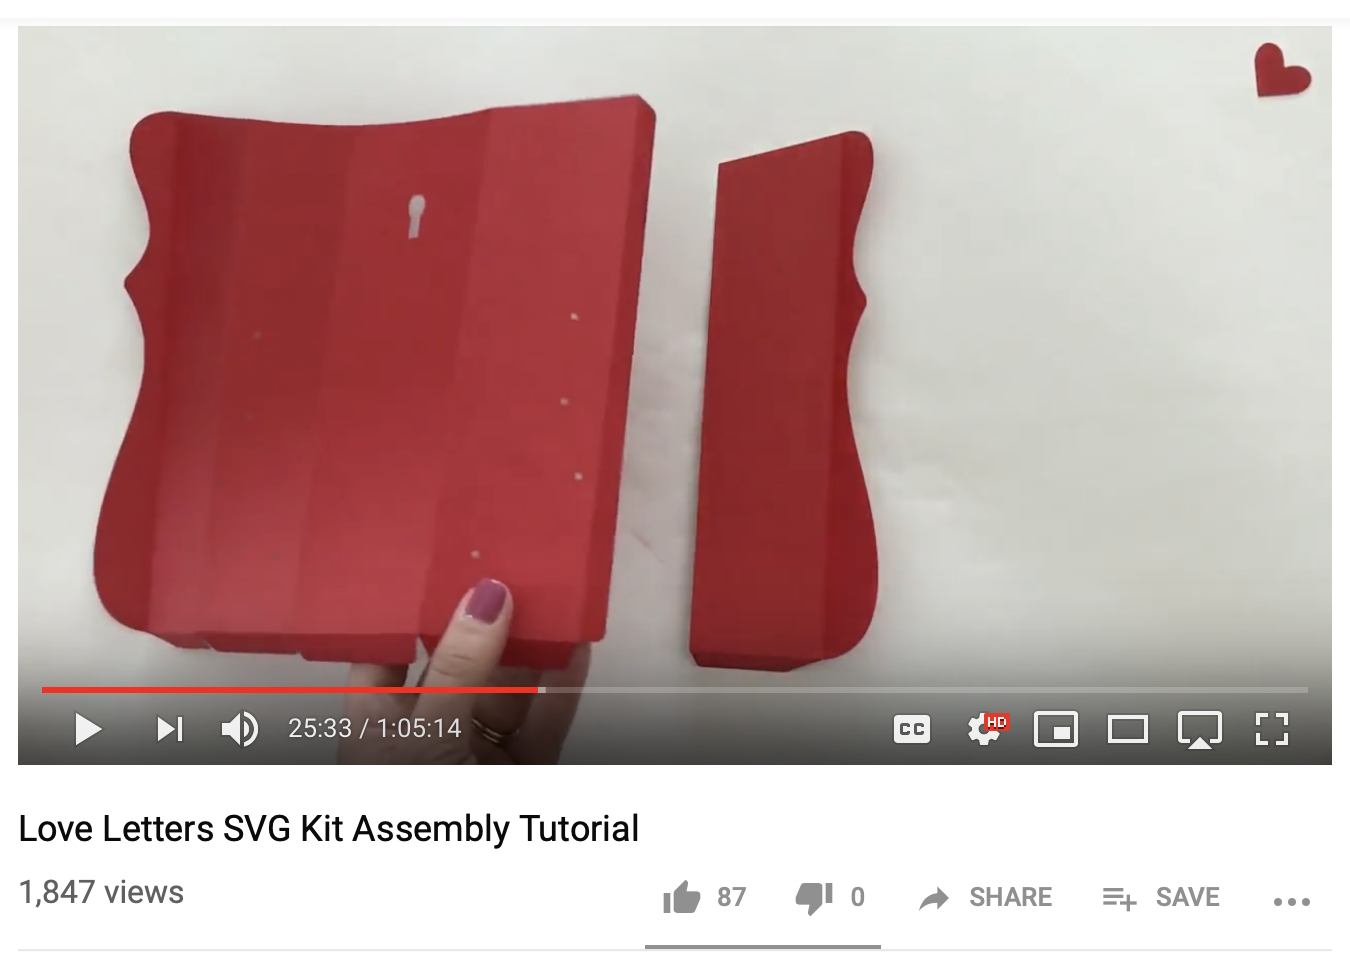
The Mail Box project portion of the video starts at about 21:44 into the video. Each step is shown and explained, and you can pause the video at any time to create yours while you watch.
Enjoy!
 Now all that's left to do is admire your amazing project! I hope you had fun making it and that you found these steps helpful!
Please feel free to share a photo of your project with us on Facebook, Instagram or Pinterest!
Thanks so much for shopping with us!
Happy Crafting! ~Mary
Shop Now