New to using our designs with the Cricut Design Space software? Let's walk through the steps from start to finish!
Shop
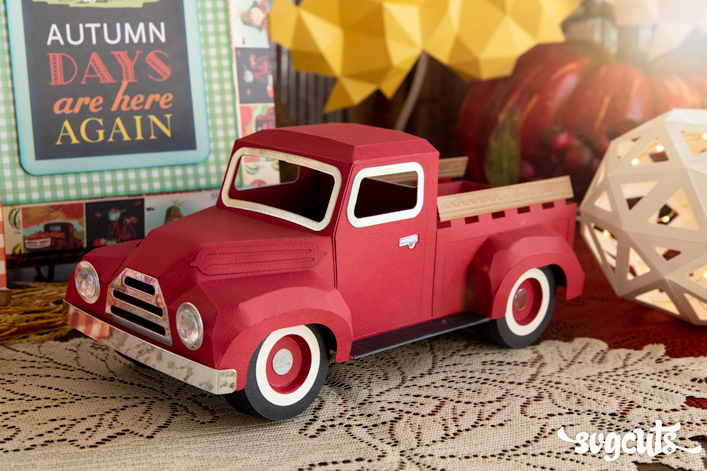
First, select the design you'd like to create. For this example, we'll be using the Vintage Truck project. We offer it individually...
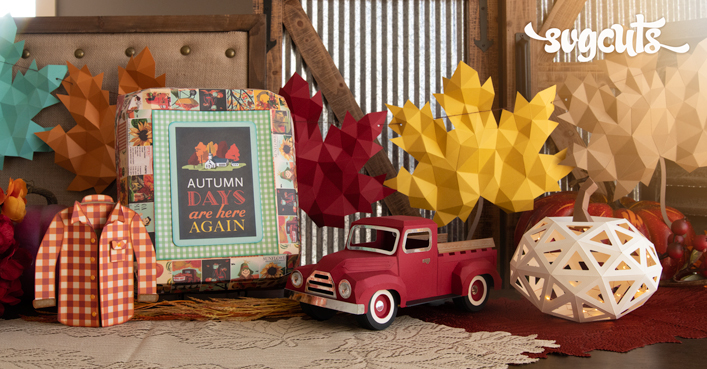
... and we also offer it as part of the Fall Weekend SVG Kit, which includes four other projects.
Once you've completed Checkout, and clicked the "Place Order" button, you'll be taken to a page with a large green "Download" button.
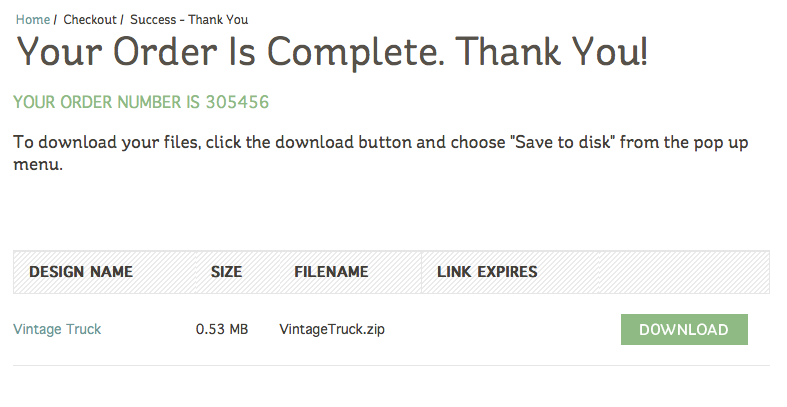
Download
Click the Download button and choose where you'll save your file.
Unzip
Next, you'll need to unzip your download. You'll only need to do this one time. Are you using Windows or "Mac" (iOS) as your operating system?
Operating System: Windows
To unzip a file in Windows, you can:
- Open My Computer (click Start and then click My Computer).
- Then locate the zip file. In this example, it's called VintageTruck.zip or FallWeekend.zip.
- Right-click on it and select "Extract All."
- Specify where you want to store the extracted files on your computer.
- To "tidy up," you can right-click on the original zip file and then select Delete.
Operating System: "Mac" (iOS)
To unzip a file in iOS, you can simply double-click on it. To "tidy up," you can delete the original zip file.
Project Folder Contents
Your project folder is either called "Vintage Truck SVGCuts" or "Fall Weekend SVGCuts," depending on whether you ordered the Vintage Truck project alone or the entire Fall Weekend SVG Kit. Either way, just like any download from us, you will see three types of content inside your folder:
- a PDF "Menu" document
- at least one JPG photo of the finished project
- the SVG files
Your PDF Menu
This document contains important information about your project. You can view it on your computer, or you can print it out. For this project, your PDF will either be called "Vintage Truck Menu" or "Fall Weekend Menu."
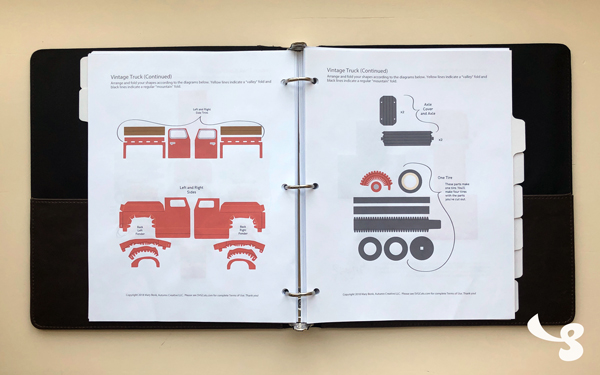
It lets you know several bits of important information.
Assembly Tutorial
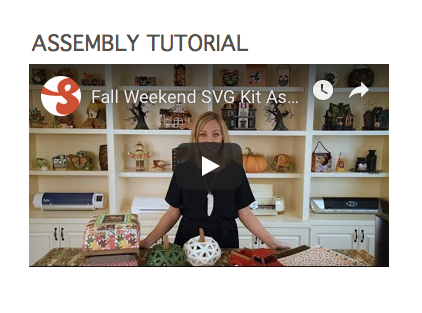
First, the PDF gives you a heads-up that there's a step-by-step Assembly Tutorial video for your project. It lets you know that you can locate it on our website, right on the page for your project. You can find it by visiting SVGCuts and entering your project name in the Search box.
This will take you to either the Vintage Truck project or the Fall Weekend SVG Kit on our site, where the video is embedded.
The video shows footage of the finished project, and then I talk about the projects a little bit.
Then, I show how to make each one step-by-step.
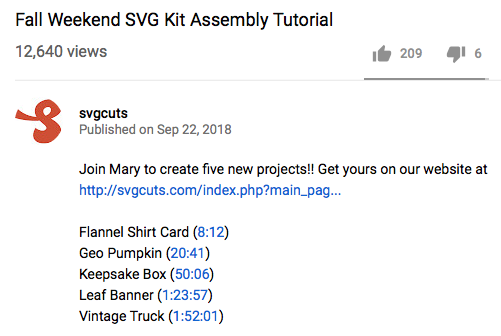
You can click on its white title on our site to open the video directly on YouTube, where you can view it at a larger size and pause/rewind/fast-forward more easily. Also, you can jump ahead to any project by clicking on "Show More" underneath the video and then clicking on the numbers next to any project name.
For example, on that page, clicking on the "1:52:01" next to "Vintage Truck" will fast-forward the video to the part where the Vintage Truck project is assembled.
Paper and Supplies
The PDF Menu also lets you know what paper and supplies were used to create the project. It gives details about the patterned paper collection that I used, and any additional supplies, such as embossing folders, brads, and what I used for the truck's headlights. It also gives the dimensions of the finished project. This information can also be found right on the project's page on our site.
"Extras"
The PDF Menu also describes the Extras that are included in your download, such as alternative files with solid score lines, and files that contain the entire project saved as a single file. These are handy for Cricut Design Space users.
Shapes
The PDF Menu shows all of the shapes that are included in the SVG files for your project. It also gives the recommended width for each SVG file as well as the type and color of paper that I used to create the finished project. If you're a Cricut Design Space user, you won't need to worry about the recommended size of the shapes because the software imports/uploads them onto the Canvas at the recommended size by default.
Diagrams
The PDF Menu also shows diagrams of how the shapes will be laid-out and how to begin folding everything. This is helpful once your shapes are all cut out, so you can arrange and group them together before starting the Assembly Tutorial video.
SVG Files
In addition to a photo of the finished project, your folder of course also contains the SVG files for your project.
You may not be able to directly open SVG files on your computer. This is common. For example, double-clicking on an SVG file on your computer may not "work."
If you're a Cricut Design Space user, there's a specific way for you to use your SVG files.
- Open the Cricut Design Space software and log in if necessary.
- Click on "New Project"
- Click on "Upload"
- Click on "Upload Image"
- Click on "Browse"
- Locate the SVG file you'd like to use and click "Save"
- Click on it under "Recently Uploaded Images" and click on "Insert Images"
You'll now see it on your Canvas. If not, please select it by name in the Layers window and enter a "6" and a "6" in the X and Y fields near the top of your screen.
Attach
If your shape contains more than one layer, such as score lines for folding, you'll need to use the "Attach" function in the software. To do this, select the entire shape and click the "Attach" button in the lower right-hand side of your screen.
If you skip this step, after you've clicked the "Make It" button, your score lines will be on a different mat than your shape.
You can repeat these steps for any additional SVG files you want to cut out using the Cricut Design Space software. This project contains nine SVG files. You can then proceed to click the "Make It" button and adjust your settings to your preferences and use your machine to cut out the shapes.
Extras
As mentioned above, the Extras folder in your download contains some helpful files.
Solid Score Lines
If you're using the Cricut Design Space software, you have a machine that is able to "score" using the Cricut Scoring Stylus tool or the Cricut Scoring Wheel. If you'd like to use them, you can use the alternative files in the "Solid Score Lines" folder. For this project, that would be:
- boards.svg
- chrome.svg
- tires1.svg
- tires2.svg
- truck1.svg
- truck2.svg
- truck3.svg
With one of these on your Canvas, select only its top layer (its score lines) and change the Linetype drop-down menu selection from "Cut" to "Score." This can be done either before or after you've used the "Attach" function, but before you click "Make It."
The lines will then be displayed as "dashed" to indicate that they've been set to "Score."
"Entire" Files
To save time, instead of uploading and inserting all nine project files, you can upload/insert the entire project at once. There are four choices:
- The file called "entire_vintage_truck.svg" in the Extras folder contains all of the project's shapes.
- The file called "entire_vintage_truck_separated.svg" in the Extras folder contains all of the project's shapes "separated." For example, if you only want or need one small part of an SVG file, you can individually select each part.
These choices also exist in the "Solid Score Lines" folder and are identical, except they have solid score lines instead of the default dashed lines.
If you use one of these, which I do recommend for Cricut Design Space users because it's time-saving, once you've uploaded/inserted it, you'll need to click the "Ungroup" button just once.
Then proceed to change the Linetype if necessary and Attach if necessary before clicking "Make It."
Prep and Assemble
Now that your shapes are all cut out, you can use the diagrams in your PDF Menu document to group your shapes together accordingly and to fold them as shown. This prepares them for the assembly steps.
You can then watch your project's Assembly Tutorial video as mentioned above to see exactly how I recommend gluing each part in the right spot, in the recommended order.
Share
Once you've amazed your friends and family with your new creation, please share a photo of your project with us on Facebook or Instagram! 😀 If you have a blog, you could create a blog post about it and then pin that on Pinterest or share that with us on Facebook. If you have a YouTube channel and post a video about your project there, be sure and let me know, too! I'd love to see and subscribe to your channel!
If you're new to paper crafts and have tackled the Vintage Truck project, I applaud you! It may be one of our most advanced projects, next to our Magnolia Manor project.
Many Thanks
Thanks so much for shopping with us and for giving my project a try! I hope this blog post was helpful if you're a newbie and that now you've got the hang of how things work. Have an awesome day, and Happy Crafting! 🙂 ~Mary
